Expanding your ioGates team or granting access to freelancers is straightforward. Follow these steps to add new users, set their permissions, and integrate them into your workflows efficiently.
Navigating to User Management
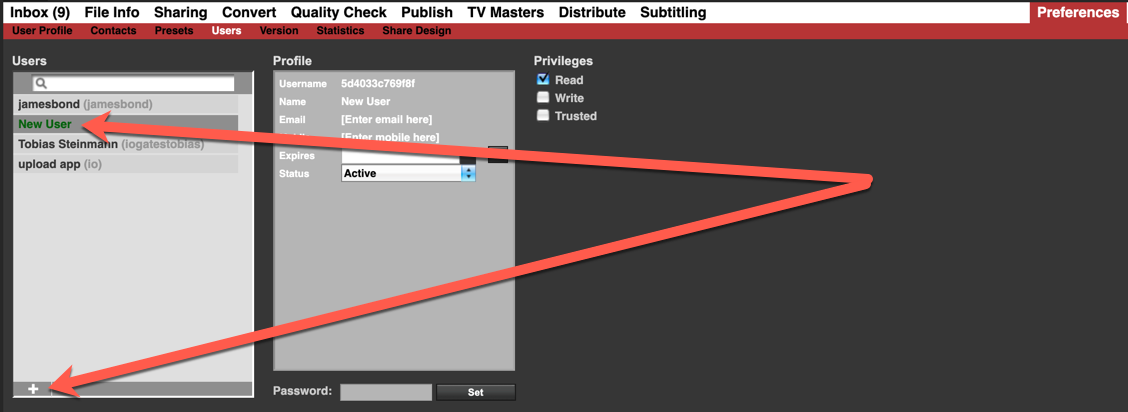
- Access Preferences: Go to the Preferences menu and select the Users section. Here, you'll manage all user-related settings.
- Add User: Click on the "+" icon to initiate the process of adding a new user.
Entering User Information
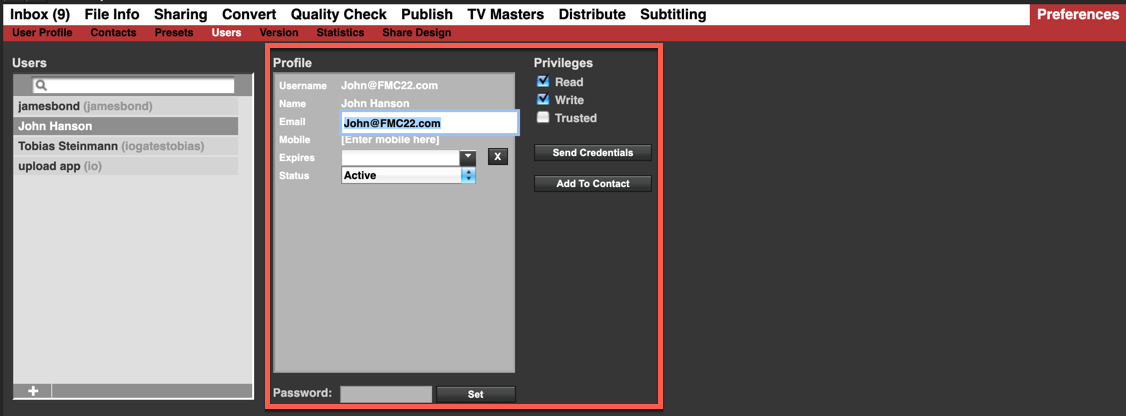
- User Details: Fill in the necessary information for the new user. Typically, the username is set as the person's email address to simplify login and communication.
- Permissions: Assign the appropriate permissions based on the user's role:
- Read: Grants read-only access.
- Write: Provides comprehensive access excluding Distribute, TV Masters, or any cost-incurring options.
- Trusted: Offers full access with the exception of user creation, which is reserved for Administrators.
- Expiry Date: If the new user is a freelancer or their access should be time-limited, you can set an expiration date for their account.
Setting and Communicating Credentials
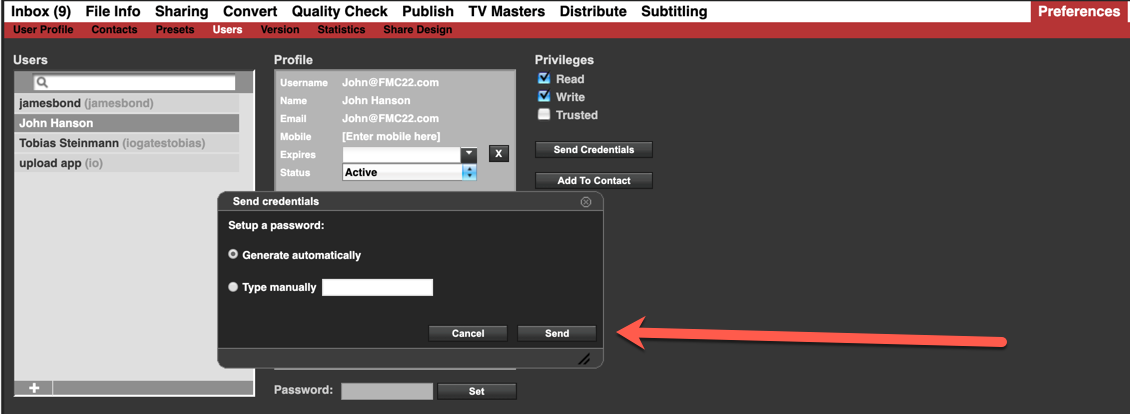
- Password Assignment: You have the option to manually set a password or let the system mail the credentials directly to the user. Mailing the credentials is generally more straightforward and secure.
- Account Lock: Note that entering an incorrect password more than five times will result in the user account being locked. An administrator will need to reactivate the account in such cases.
Integrating with Sharing Contact Book
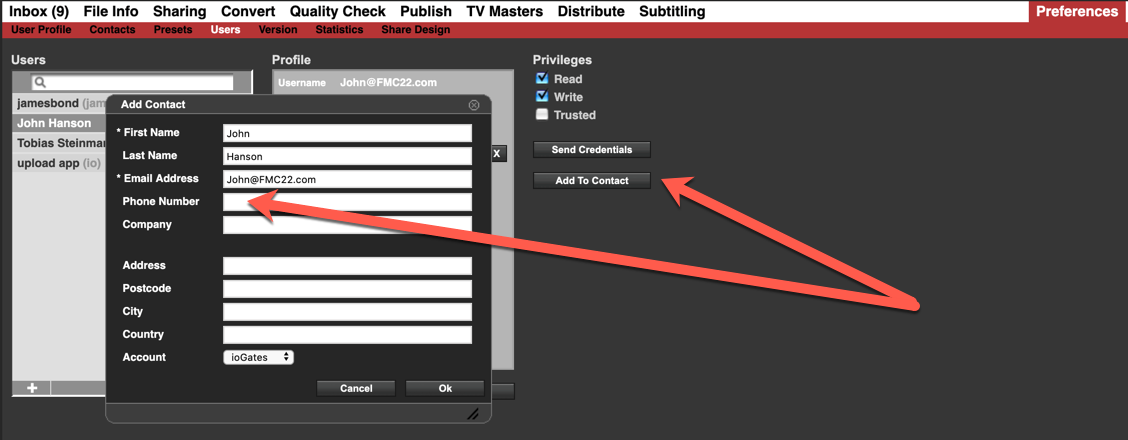
- Contact Book Addition: Adding the new user to the sharing contact book eliminates the need to enter their details again for sharing purposes. This step is crucial for streamlined collaboration.
- Two-Factor Authentication (2FA): If you want the user to utilise 2FA for an added security layer, remember to include their cell phone number. This number is essential for receiving 2FA login codes via text message.
Finalising the User Setup
After completing these steps, the new user will be equipped to access ioGates based on their assigned permissions, contributing to your projects or accessing necessary files. Remember, maintaining an updated sharing contact book and clearly defining user roles and permissions is key to a secure and efficient workflow in ioGates.