This article guides users through installing the ioGates Desktop App, creating and managing share links for file uploads and downloads, and customizing workflow paths, enabling streamlined file sharing and workflow automation.
1. Downloading the Desktop App: First, download the ioGates Desktop App, a free tool designed to enhance your file-sharing experience. The app can be downloaded here.
2. Creating and Managing Share Links:
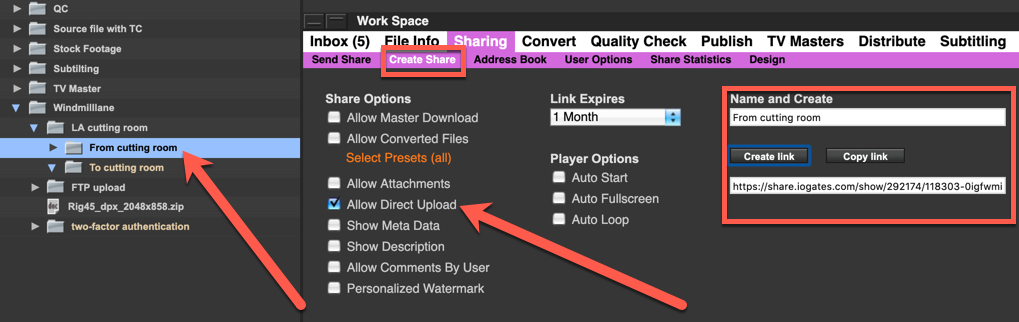
Start by creating a share link for the folder you wish to share via the "Create share" option. This step is crucial as it determines the access permissions for the Desktop App.
3. Naming and Copying Your Link
Once you've adjusted your uploading settings, give your link a name and click on "copy link." This action prepares you to integrate the link with the Desktop App.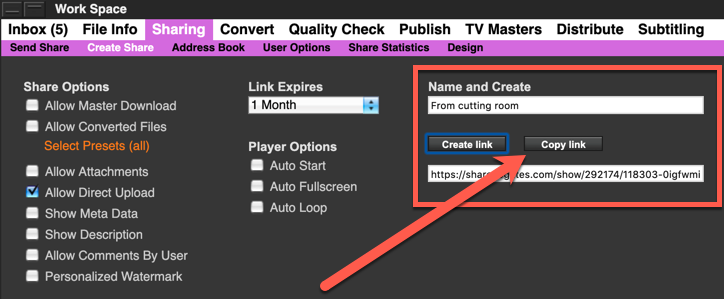
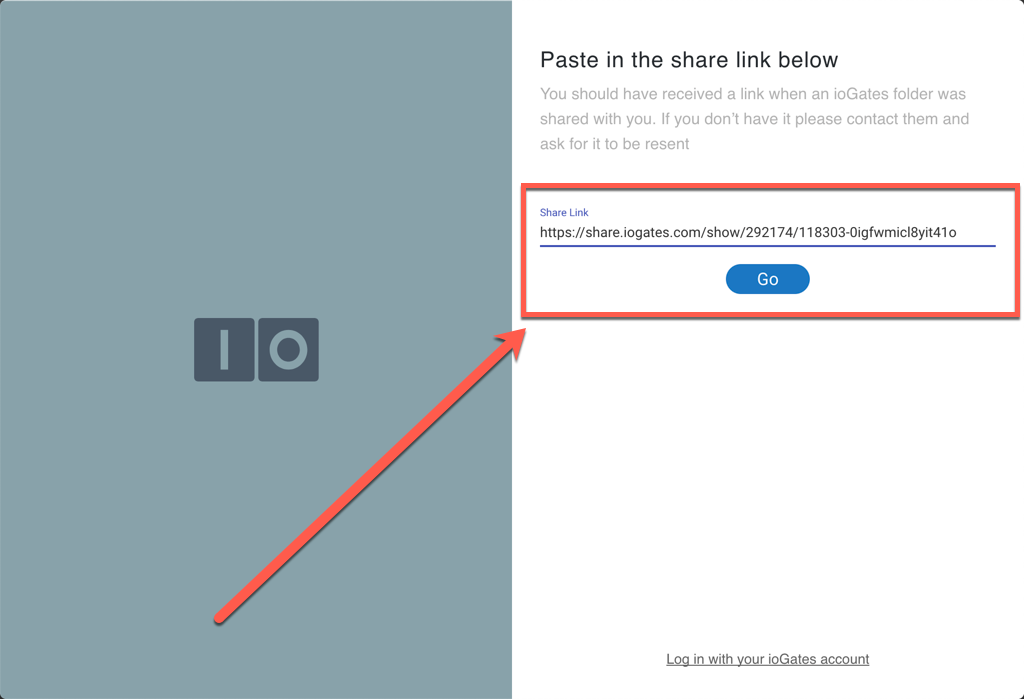
4. Activating the Share Link in the Desktop App:
Open the ioGates Desktop App and paste the previously copied link into the appropriate field, pressing "go" to activate.
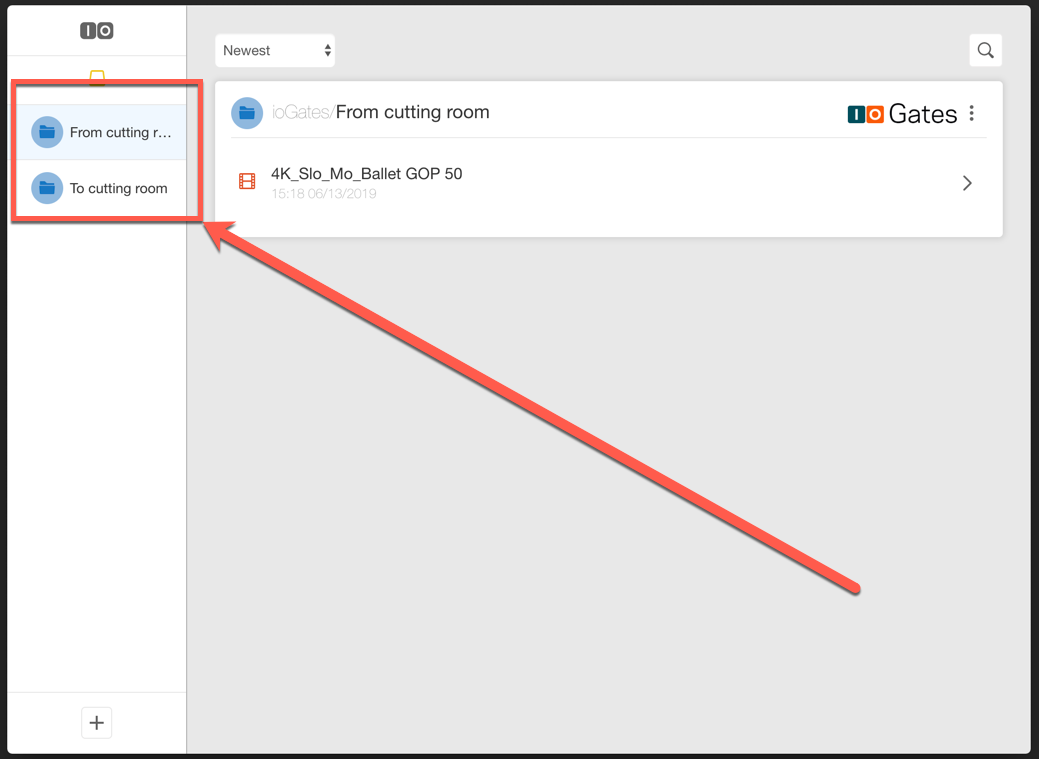
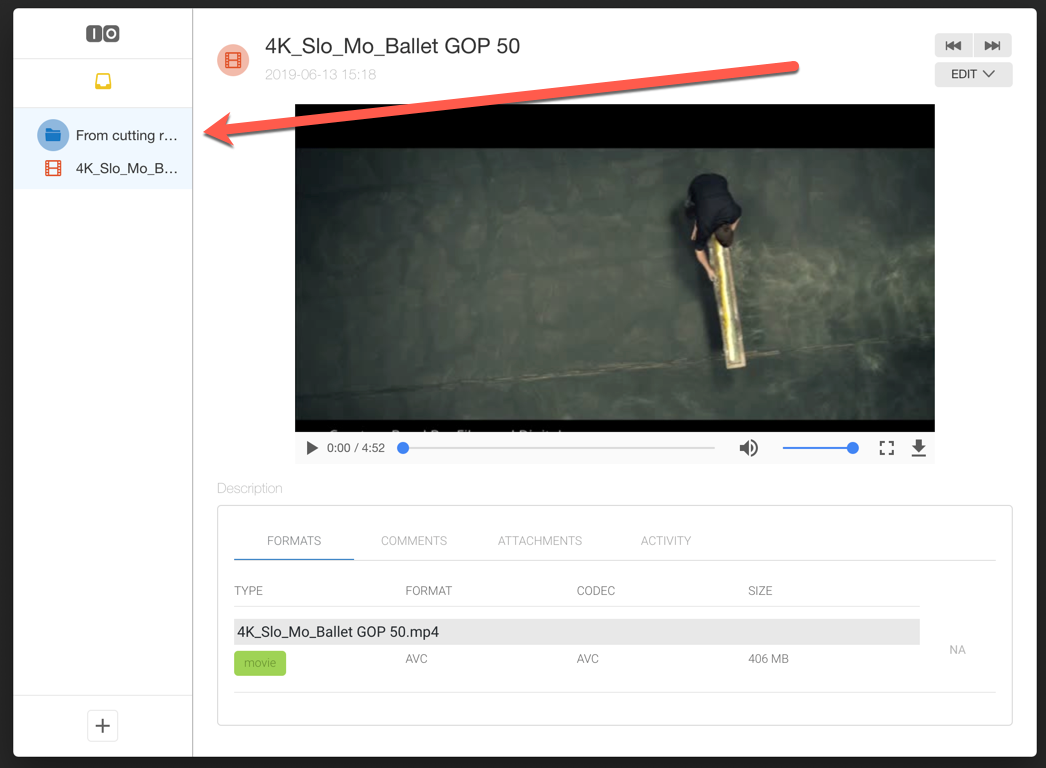
You'll then see the share link represented by a blue icon, similar to browser navigation. This visual cue helps you efficiently manage multiple ShareLinks within the app
.
5. Configuring Upload and Download Paths
To adjust the paths for each share link, click on the blue icon corresponding to your share link, then select the three dots in the top right corner next to the logo to access settings.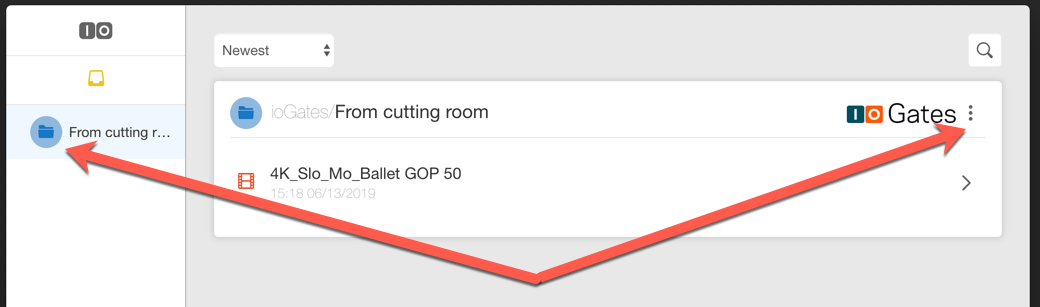
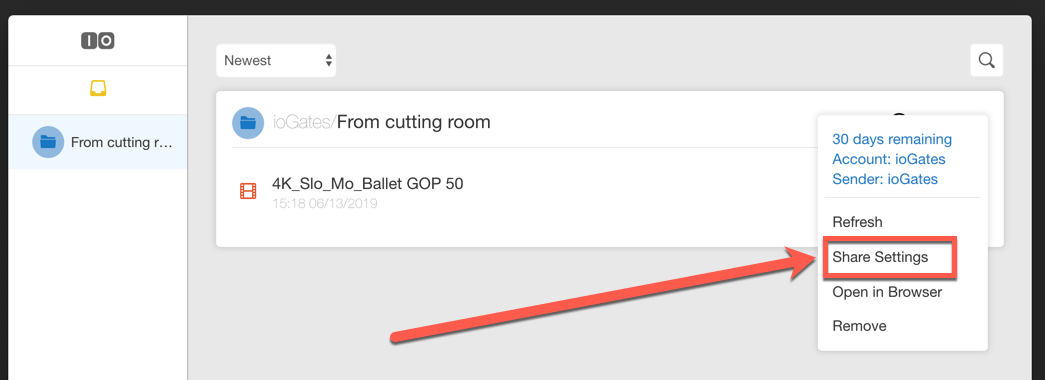
Choose "Share settings" to individually manage the upload and download locations for each link, enabling the creation of distinct workflows for different projects or files.

6. Implementing Auto-Download and Managing Permissions
Within the "Share settings", you can select the auto-download feature for seamless file synchronisation. Remember, the permissions you set when creating the share link dictate the Desktop App's capabilities, ensuring uploaded files are correctly placed in the share's root folder.
7. Fine-Tuning Your Workflow
With the ability to add an unlimited number of share links, each having its unique upload and download path, your workflow's efficiency and customization are greatly enhanced.
Utilise the "+" sign to introduce additional share links into your setup, tailoring each for specific needs or projects.